


GTT Disassembly
Many people have enquired about the process of disassembling the GTT for transport, and we have been promising for some time to put up some pictures to show how it's done, so here it is at last....
Tools Required.
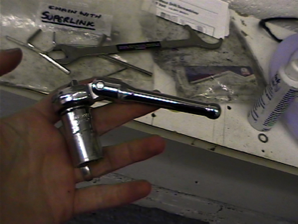
S&S Coupling Spanner.
Pedal Spanner (most S&S Spanners have one on the other end).
Allen Keys - 4, 5 and 6mm sizes, plus one for the mirrors.
17mm Socket (for front wheel nuts *)
.
24mm Spanner for kingpin extensions.
A chain tool may also be needed if chains are not fitted with superlinks.
(*On later models this may not be required as the front wheels can be removed with allen keys).

Pictured above are the fully assembled tandem, and the case into which it will be packed. The case was custom made for us by Kinetics of Glasgow, and is foam lined to help protect the tandem in transit. The lid is held in place by six clasps, three on each of the two long sides, and can be completely removed when packing, which helps considerably when manouevring large sections of trike to fit.
The chains are removed and stored carefully in labelled bags. We find resealable ziplock freezer bags particularly useful for this.
Our tandem has an optional rear hydraulic disc brake fitted, with the lever operated by the stoker. This needs to be disconnected for disassembly.
The brakes should not be applied while disconnected, particularly if the Hayes model is fitted , as these are auto advancing (they adjust automatically to pad wear) and if the brake lever is squeezed while there is no disc between the pads they will adjust until there is no space between them....
The gear cable from the stoker's handlebars to the three-speed derailleur should also be disconnected at this point (if fitted).
The front seat is held in place by means of three 6mm allen bolts, and is next to be removed.
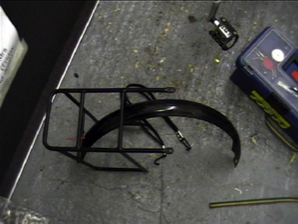
The rear rack and mudguard (if fitted) can be removed also. The allen bolts which hold the rack in place can be reinserted in their places in the frame for safekeeping, ensuring that they are tight enough not to fall out in transit.

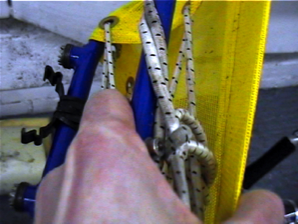
The rear seat is held place with two allen bolts of the same type as the front seat and two S&S couplings. With these respectively removed and unfastened, the rear seat can be lifted off.
As with the chains, the bolts from each seat can be stored in labelled ziplock bags to make reassembly easier.
As with the chains, the bolts from each seat can be stored in labelled ziplock bags to make reassembly easier.
Our tandem is fitted with cable splitters, allowing complete separation of the gear cables, and giving more flexibility when packing.
Front mudguards and kingpin extensions can be removed.
Front mudguards and kingpin extensions can be removed.
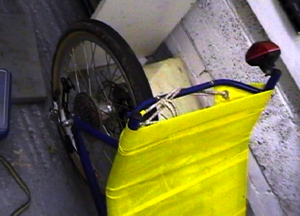
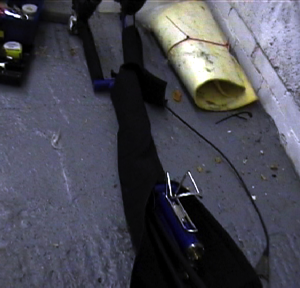
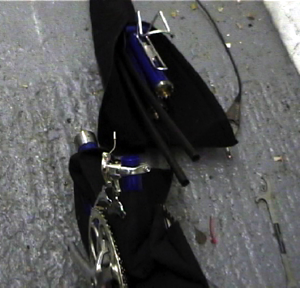
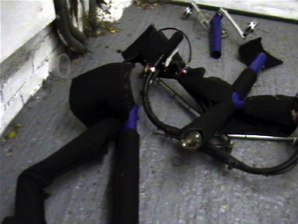
Before removing the wheels it is a good idea to wrap the frame, preferably with the purpose-made velcro "socks" shown above, to protect the frame both during the remainder of the disassembly and in transit.
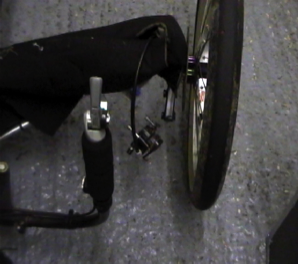

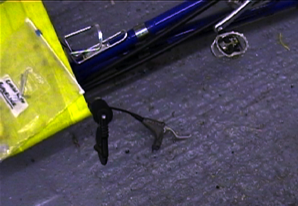
Before removing the front wheels, the brakes need to be disconnected. We usually zip tie the Brakes to the frame, so that they don't knock against the frame.
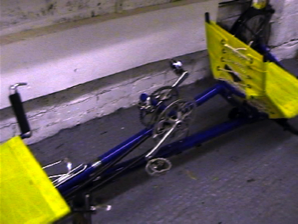
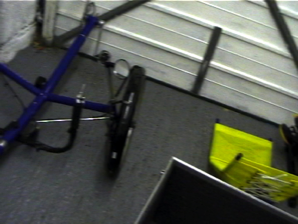
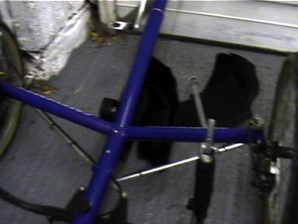
The rear wheel is removed.
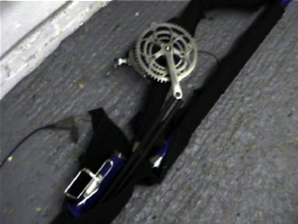
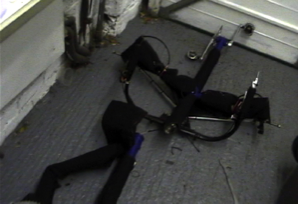
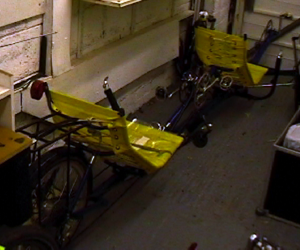
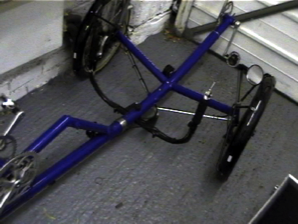
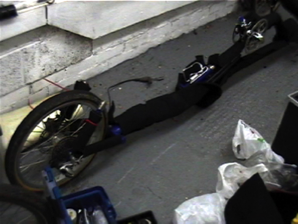
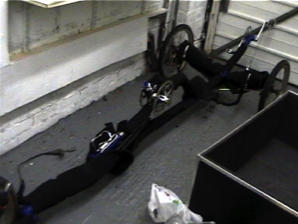
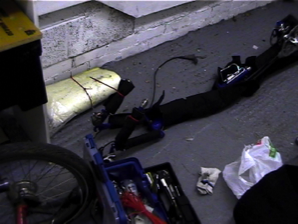
Now that all removable parts have been dealt with, the frame can be separated into sections by means of the S&S couplings.

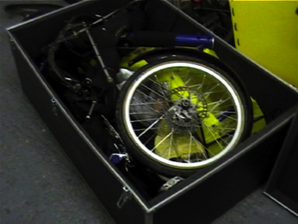
Then the parts are packed carefully into the case.
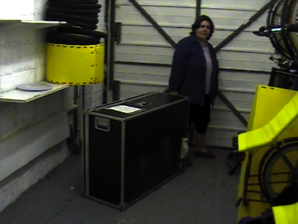
Packed and ready to go!